
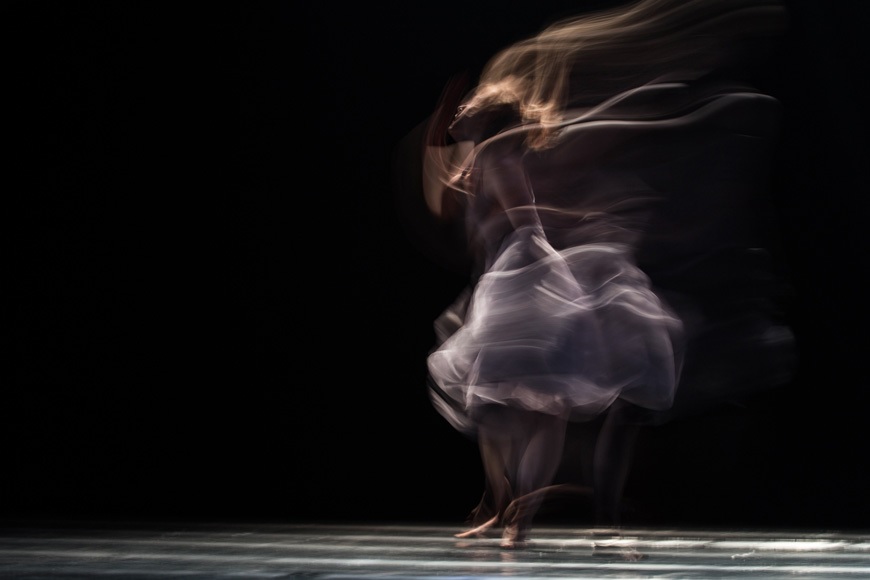

Capturing a compelling photograph when the sun goes down or when you transition into a dimly lit interior is the ultimate stress test for any photographer. When light becomes scarce, the fundamental mechanics of photography begin to work against you. Autofocus systems hunt aimlessly, shutter speeds drop to dangerous levels, and digital noise threatens to swallow the delicate details of your subject. For many, the result is a frustrating collection of muddy, blurred, or completely out-of-focus images that looked acceptable on a tiny camera LCD but fall apart on a larger monitor.
However, mastering low-light photography does not require possessing the most expensive camera on the market. It requires a meticulous understanding of how your camera interprets light, a strategic manipulation of the exposure triangle, and a disciplined approach to stabilization and focus. When you understand the physical limitations of your equipment and know exactly how to push those boundaries, the darkness transitions from a frustrating obstacle into a powerful creative canvas.
Rebalancing the Exposure Triangle for the Dark
Every photograph is a balancing act between aperture, shutter speed, and ISO. In bright daylight, this triangle is highly forgiving. In low light, every adjustment requires a deliberate sacrifice. The key to maintaining sharpness and detail is knowing exactly which compromise will impact your final image the least.
Opening the Aperture for Maximum Light Gather
The aperture is the physical iris inside your lens, and in low-light environments, it is your first and best line of defense. Lenses capable of opening to f/2.8, f/1.8, or even f/1.4 are commonly referred to as fast glass because they allow a massive volume of light to strike the sensor in a fraction of a second. If you are shooting in a dim environment, opening your aperture to its widest setting is almost always the required starting point.
However, this light-gathering capability comes with a significant optical trade-off. A wide-open aperture creates a razor-thin depth of field. When shooting at f/1.4, the distance between what is in perfect focus and what is completely blurred is often measured in millimeters. If you are photographing a person in low light at a wide aperture and focus on their nose, their eyes may be entirely soft. To maintain critical detail, you must be exceptionally precise with your focus point, ensuring it lands exactly on the most important element of your subject.
Managing Shutter Speed to Eliminate Motion Blur
Shutter speed is the most common culprit behind ruined low-light photographs. As the camera attempts to gather enough light to create an exposure, the shutter must stay open longer. If the shutter stays open while the camera is moving in your hands, or while the subject is moving across the frame, the resulting image will suffer from motion blur.
For decades, the reciprocal rule served as the baseline for handheld photography. This rule dictates that your shutter speed should never be slower than the inverse of your focal length. Therefore, if you are shooting with a 50mm lens, your shutter speed should remain at 1/50th of a second or faster to prevent the natural tremor of your hands from blurring the shot.
While modern in-body image stabilization has given photographers a bit more leeway, the reciprocal rule only prevents camera shake; it does nothing to freeze a moving subject. If you are photographing a static landscape, you can drag the shutter. But if you are photographing people at a dimly lit event, dropping your shutter speed below 1/125th of a second will almost certainly result in blurry hands and faces, regardless of how still you hold the camera.
Pushing the ISO Without Destroying Detail
ISO measures the sensitivity of your digital sensor to light. When you cannot open the aperture any wider and you cannot drop the shutter speed any lower without introducing blur, raising the ISO is your only remaining option.
Many photographers are terrified of raising their ISO because high sensitivities introduce digital noise, which degrades color accuracy and destroys fine details. This fear often leads to a fatal error: choosing a slow shutter speed to keep the ISO low, resulting in a clean but hopelessly blurry image. You must accept the reality that a sharp, noisy photograph is always infinitely better than a clean, blurry one. Digital noise can be heavily mitigated in post-processing, but a motion-blurred image is ruined forever. Do not be afraid to push modern camera sensors to ISO 3200, 6400, or beyond if it is the only way to secure a fast enough shutter speed to freeze your subject.
Winning the Battle for Sharp Focus
Cameras rely heavily on contrast to lock focus. In bright light, the sharp transition between light and shadow gives the autofocus system plenty of data. In the dark, the environment loses contrast, causing the lens to hunt back and forth without locking onto anything.
If your camera features an autofocus assist beam—a small light on the front of the body that illuminates the subject for a split second—ensure it is activated in your menu settings. If you are shooting from a distance where the assist beam is ineffective, you must manually guide the autofocus point to the area of highest contrast on your subject. Instead of focusing on a flat, solid-colored shirt, move your focus point to the high-contrast edge where the shirt meets a brightly lit collar or a reflective watch face.
When autofocus fails entirely, you must transition to manual focus. To do this accurately in the dark, utilize your camera’s digital magnification feature. By magnifying the live view on your rear LCD screen, you can physically see the micro-adjustments as you turn the focus ring, allowing you to visually confirm that the eyelashes or the architectural details are tack sharp before you press the shutter.
The Absolute Necessity of Physical Stabilization
Handholding a camera in low light is a gamble. Whenever possible, introducing physical stabilization will instantly elevate the technical quality of your images.
A high-quality, sturdy tripod allows you to entirely bypass the limitations of shutter speed and ISO when photographing static subjects like architecture, landscapes, or night skies. With the camera locked down, you can drop your ISO to its base level for maximum dynamic range, close your aperture to f/8 for edge-to-edge sharpness, and leave the shutter open for seconds or even minutes.
However, mounting the camera to a tripod is only half the battle. The physical act of pressing the shutter button introduces microscopic vibrations that will soften a long exposure. To guarantee absolute sharpness on a tripod, you must remove your hands from the camera. Use a wireless remote, a cable release, or simply activate the camera’s built-in two-second self-timer. This brief delay allows any mechanical vibration caused by your hand to dissipate before the shutter actually opens.
Maximizing Data with the RAW Format
When you shoot in JPEG, the camera immediately bakes its own interpretation of contrast, white balance, and noise reduction into the image, discarding all the excess data to compress the file. In low-light environments, discarding data is a catastrophic mistake.
Shooting exclusively in the RAW image format is non-negotiable for serious low-light photography. A RAW file captures the absolute maximum amount of light data possible from the sensor. Because low-light images frequently suffer from shifting, unpredictable artificial lighting, a RAW file allows you to completely correct a ruined white balance without degrading the image.
More importantly, a RAW file gives you granular control over noise reduction. In-camera JPEG noise reduction is notoriously aggressive, often smearing fine details until human skin looks like plastic and textures turn to mush. By processing a RAW file in a dedicated editing suite, you can apply localized, algorithmic noise reduction strictly to the shadow areas where the noise is worst, while deliberately preserving the sharpness and crisp detail in the highlighted areas of your subject.
Conquering low light requires shedding the reliance on automatic camera settings and taking manual control over the mechanics of exposure. It demands patience to secure focus when the camera is struggling, discipline to stabilize your gear, and the technical understanding to push your ISO precisely to the edge of its usable limits. When you combine these practices, you stop fighting the darkness and start utilizing it to capture imagery defined by mood, atmosphere, and striking, uncompromising detail.

Comments are closed.